


Git is a Version Control System that is used to keep records of the Development code. It is important in companies when they are making a large project and the tasks are divided into various developers of the company. In order to track what work is done and by whom, we use Git.
Git is also used as a backup for the codebase. If the user has deleted the code or has lost it, he/she can get the backup from Git and can clone it if he has uploaded it to Git.
Git can be said as a distributed development system with the help of which, large tasks can be distributed to various other developers. In layman’s terms, Git is a platform where the developers upload their part of the task and can access each other’s code and pull it from Git to their own IDE platform. This will let them get the features that are developed by other developers into their own codebase. This will help in streamlining the tasks that were distributed. Hence saving time and increasing efficiency.
How to use Git?
First, you need to install Git on your computer. You can download the latest version of Git from the official website (https://git-scm.com/downloads) and follow the installation instructions for your operating system. After this follow the below-mentioned steps:
Making a repository
The first thing to do in order to use Git in your project is to create a Repository.
To create a repository, we need to sign up on git.
After a successful login, we need to make a Repository where we have to store our code. You can find a green button with the title “New” on the top left side of the git webpage.
This will let you to the following page:
– You need to give a repository name. Usually, it is the same as the name of your project.
– Next as a beginner you can make your project public, but if you want to restrict your repo, then you can make it private.
– Tick the README file. You can edit the ReadMe file and can provide a brief introduction about the repository. Click the Create Repository button at the bottom.
Your Repository will be created and it will lead you to the following page.

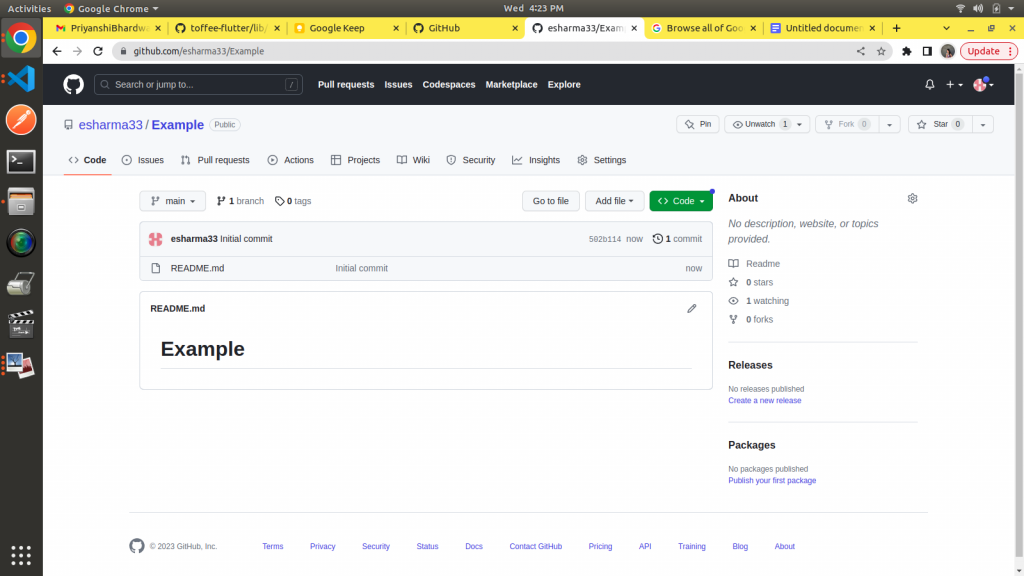
Click on the green button on the right side named Code and copy the HTTP URL. This is the URL of the repository you made which will help you link your project with this repo.
Connecting your project to the Repository
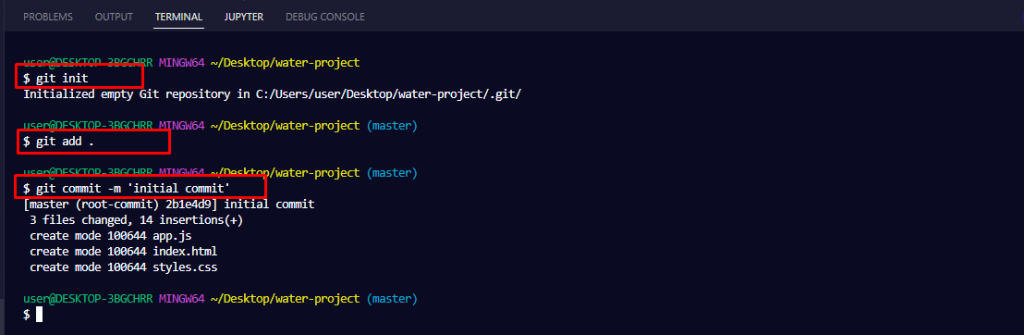
If you want to connect your project with Git, you need first initialize Git in your IDE.
Command: git init
Suppose one of the developers Dev-A completed one part of the task and wants to upload his code on Git.
To add files we need to push
Command :
1. To add a particular file on git
Git add filename
2. To add all the files on git
Git add.
To Push the code, we first need to commit.
Commit is a comment that gives a summary of what the code you pushed on Git is about. Commit is mostly of 2-3 words which help in getting an idea of the code that resides within that. Commit is compulsory with every push we make. This helps in analyzing or searching any block of code just by reading the commit. Therefore commit should be precise but accurate and should relate to the code along with it being pushed.
Command: git commit -m “message or comment”

After finishing the above steps, we added the files we want to upload or push on our git repository but to actually upload it on Git, we need to push our code.
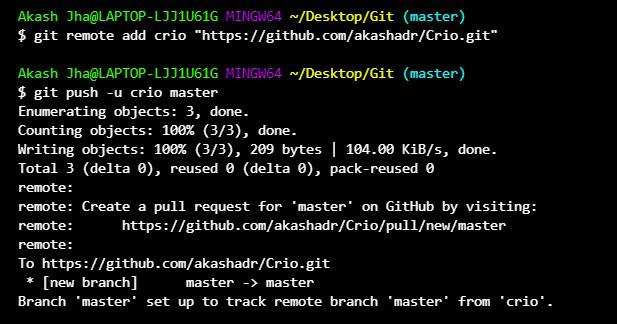
For this, we need to link the repository we made with our project.
To do so, we need to set a remote origin.
Command: git remote add origin “URL of the repository we copied before”.
Now since the origin is set, we can push our code on git by giving the name of the branch.
Command: git pushes origin main,
where main is the branch name. We will talk about branches in some other blog since this one just covers the basic functions of git.

Suppose another co-developer Dev-B also completed the task and wants to upload his code. Now before uploading, it is a good habit to first get the latest code with the latest features of the project in our codebase. This will save you from conflicts.
Conflicts are the errors while merging your code and the one that is coming from git.
This could happen if two developers are working on the same file. Conflicts usually occur very often and cannot be avoided but by following certain rules, we can lower the chances of conflicts.
Therefore Dev-B should first get the code that has been uploaded by DEV-A, update his codebase with the latest code of Dev-A and align it with his own code and resolve the conflicts if any using the Merge Editor and then he should push his code. To get the code from git to our own IDE is known as Pull.
Command: git pull origin branch_name
Conclusion
That’s all for now! git pull origin bransh_nameThese are some of the very basic but important processes of GIT that are used by everyone using git. I hope you got a fair idea about what git is about, why it is used and how can we push and pull the code from it.